Let's be honest about growing asparagus. It's not for the impatient. You plant it, wait a year, maybe harvest a few spears the next spring, and finally get a real payoff in year three. Sounds like a tough sell, right? But here's the thing everyone who sticks with it will tell you: that first full harvest of homegrown asparagus, snapped fresh from the ground, is a flavor revelation no store-bought spear can match. More importantly, you're not just planting a vegetable; you're installing a perennial food factory that can produce for 15 years or more. This guide cuts through the fluff and gives you the straight talk on how to grow asparagus successfully, turning that long-term investment into a reliable, delicious spring ritual.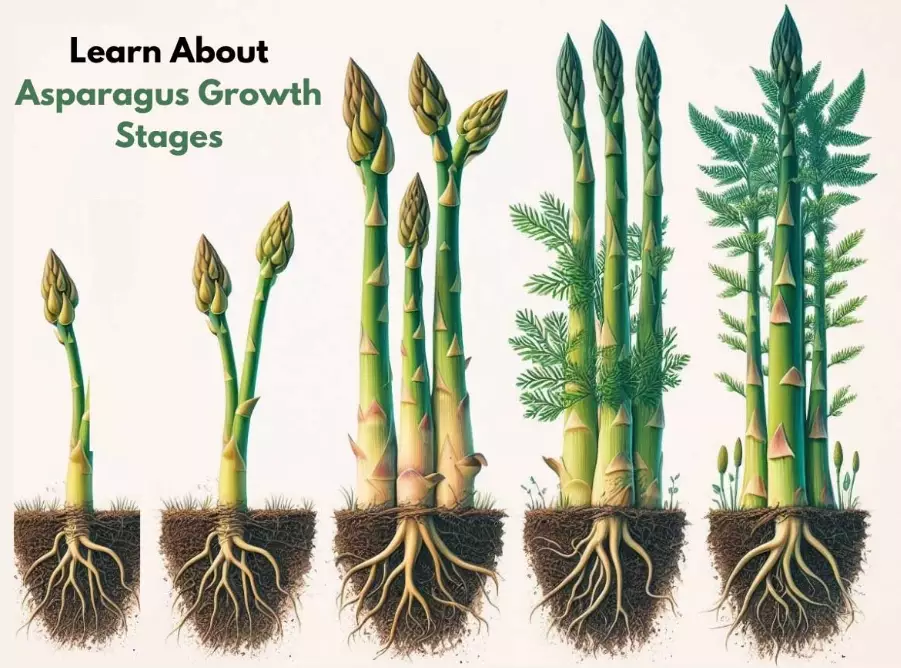
What You'll Learn in This Guide
- The Real Reasons to Grow Asparagus (Beyond Taste)
- Getting Started: What You Need Before You Dig
- The Step-by-Step Guide to Planting Asparagus Crowns
- Ongoing Care and Maintenance: The Non-Negotiables
- Harvesting Your Asparagus: When and How to Cut
- Choosing the Right Asparagus Variety for You
- Your Asparagus Growing Questions Answered
The Real Reasons to Grow Asparagus (Beyond Taste)
Sure, the flavor is unbeatable. But the practical benefits are what make learning how to grow asparagus worth the initial effort. Once established, an asparagus bed is remarkably low-maintenance. It comes back year after year, often before you've even finished planning your summer garden. It's a champion of space efficiency—a dedicated 4x8 foot bed can feed a small family generously during its peak season. From a gardening resilience standpoint, it's a hardy perennial that survives winters down to USDA zone 2 (that's -40°F/-40°C).
I made the mistake of treating my first asparagus patch like an annual crop. I got greedy in year two and over-harvested. The plants never fully recovered, and the bed petered out after five seasons. The lesson? You're managing a long-term asset, not grabbing a quick snack.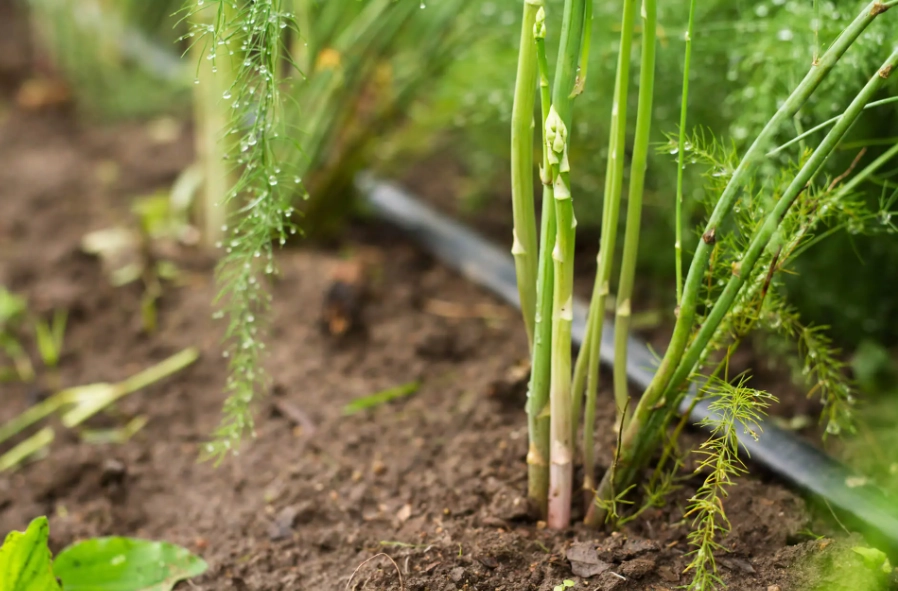
Getting Started: What You Need Before You Dig
Location is everything. Asparagus needs full sun—at least 8 hours of direct light. Don't try to squeeze it into a shady corner; weak, spindly spears will be your only reward. The other non-negotiable is drainage. Asparagus crowns will rot in soggy soil. If your garden tends to hold water, you must either build a raised bed (at least 12 inches deep) or amend the soil heavily.
The Step-by-Step Guide to Planting Asparagus Crowns
Most home gardeners start with 1-year-old crowns, which are the dormant root systems. Starting from seed adds an extra year of waiting. Here's the process, broken down.
Step 1: Soil Preparation is 90% of the Battle
This is where most guides are too vague. "Well-drained, fertile soil" isn't enough. Asparagus is a heavy feeder that will sit in the same spot for decades. You need to dig deep—literally.
- Clear the Area: Remove all weeds, especially perennial ones like bindweed or quackgrass. They're nearly impossible to remove once the asparagus is established.
- Dig a Trench: Dig a trench 12-18 inches wide and a full 12 inches deep. The length depends on how many crowns you have (plan for 18 inches between crowns).
- Amend the Bottom: Mix the soil you removed with a generous amount of compost and well-rotted manure. According to the University of Minnesota Extension, incorporating a balanced, slow-release organic fertilizer into this mix at planting gives the crowns a great start. Add a 2-3 inch layer of this enriched mix back to the bottom of the trench.
Step 2: Planting the Crowns Correctly
Here's a subtle mistake I see: people planting the crowns too shallow. They look like weird, spidery octopuses. Place each crown in the trench on top of the amended soil, with the root radials spread out evenly. The bud (or "eye") should be pointing upward.
Space crowns 12-18 inches apart within the row. If planting multiple rows, space the rows 3-4 feet apart. Now, cover the crowns with just 2-3 inches of your remaining soil mix. Do not fill the trench completely.
Step 3: The Gradual Fill-In
As the spears grow over the first few weeks, gradually add more soil mix to the trench, covering the emerging shoots until you've finally leveled the trench with the surrounding soil by mid-summer. This gradual process allows the young stems to strengthen without being buried alive.
Ongoing Care and Maintenance: The Non-Negotiables
Year 1 is all about building the plant's energy reserves. Do not harvest anything.
Watering: Provide 1-2 inches of water per week, especially during dry spells. Deep, infrequent watering is better than daily sprinkles.
Weeding: Hand-pull weeds meticulously. Asparagus doesn't compete well. Mulching heavily with straw or shredded leaves after the trench is filled will suppress weeds and retain moisture.
Feeding: Each spring, before spears emerge, side-dress the bed with compost or a balanced organic fertilizer. Do another light feeding after you stop harvesting, as the ferns are growing.
The Fern Phase: After harvest ends, the spears are allowed to grow into tall, feathery ferns. This is not a "done for the year" phase. These ferns are photosynthesis machines, creating the energy that gets stored in the roots for next year's crop. Protect them. In late fall, after the ferns have turned brown and yellow from frost, you can cut them down to 2-inch stubs and remove the debris to discourage pests and diseases.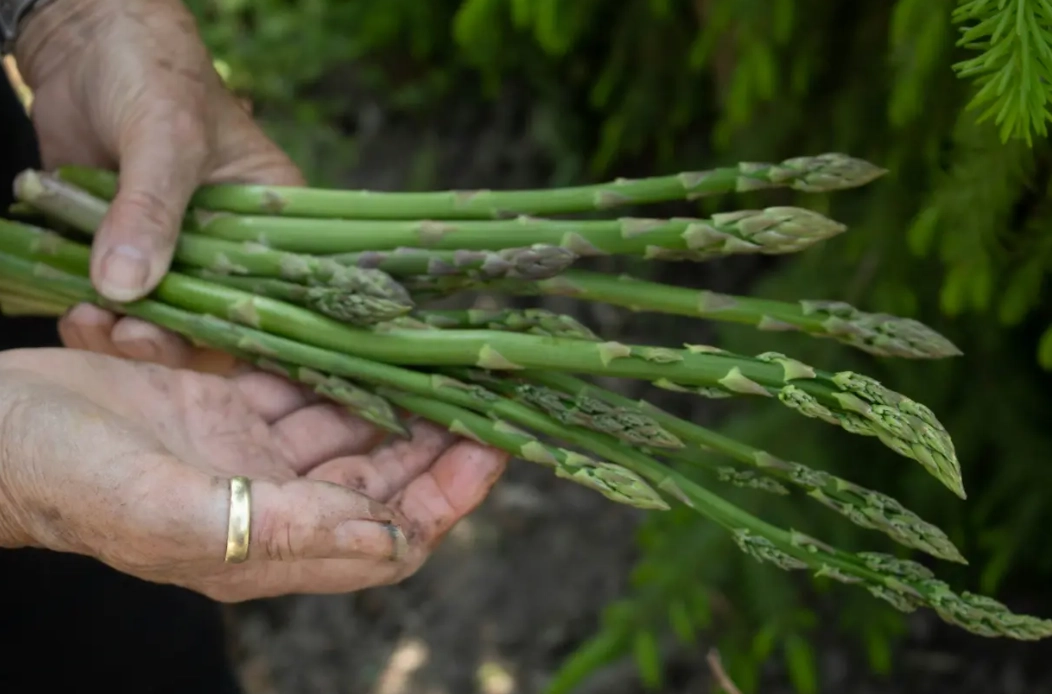
Harvesting Your Asparagus: When and How to Cut
This is the payoff, and the rules are strict for the long-term health of the bed.
- Year 1 (Planting Year): No harvesting. Let all spears grow into ferns.
- Year 2: You may harvest for 2-3 weeks in spring. Stop when spears become thinner than a pencil.
- Year 3 and Beyond: You can harvest for a full 6-8 week season. Stop harvesting by early to mid-summer to allow ferns to develop.
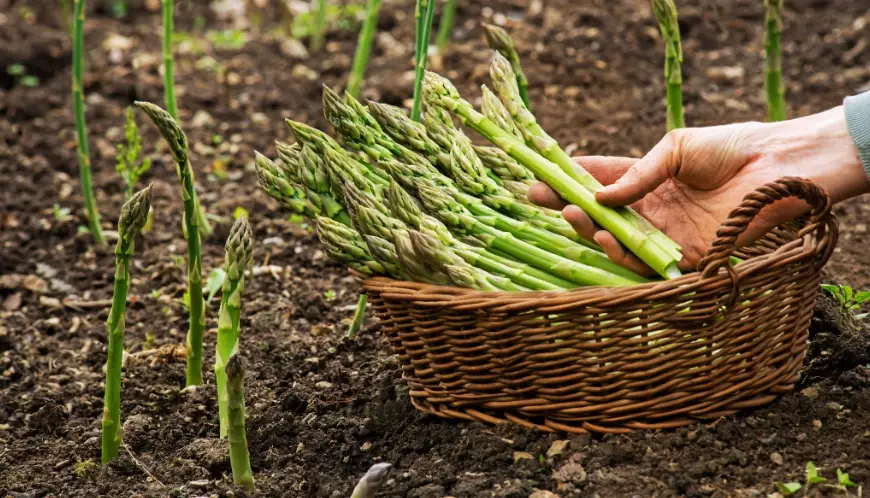
To harvest, snap or cut spears at ground level when they are 6-10 inches tall and before the tips start to loosen. I prefer snapping—bend the spear near the base and it will break cleanly at the tender point. This avoids accidentally damaging neighboring spears still underground.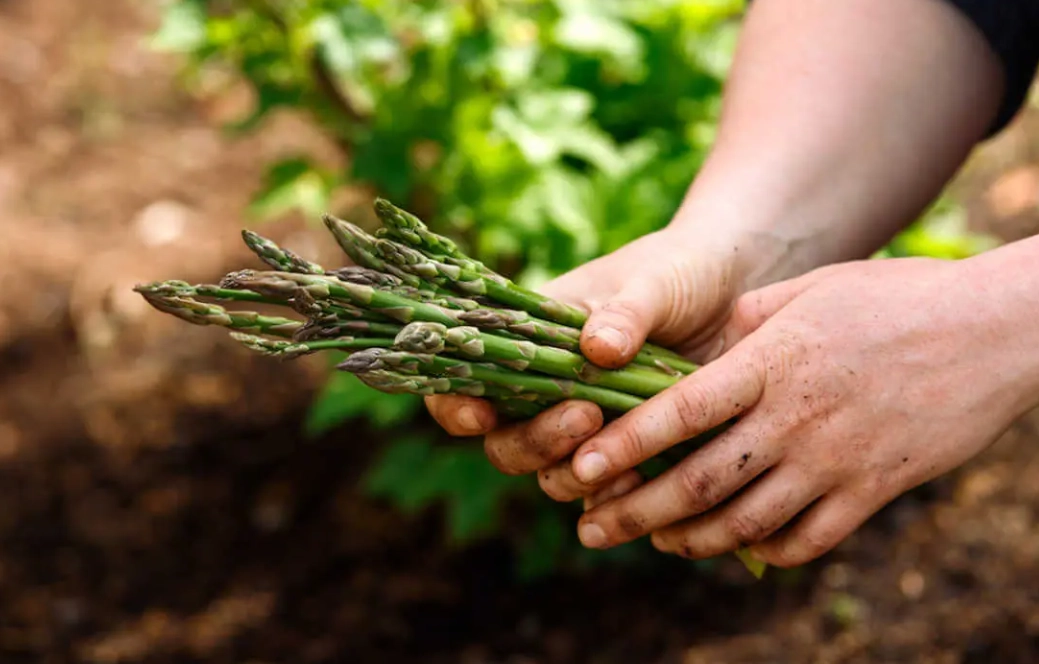
Choosing the Right Asparagus Variety for You
Not all asparagus is created equal. Most modern hybrids are all-male, meaning they don't produce seeds. This is good—they put all their energy into spear production, not seeds, yielding up to 3 times more than older, seeded varieties. Here's a quick comparison.
| Variety | Type/Color | Key Characteristics | Best For |
|---|---|---|---|
| Jersey Knight | Green | Very hardy, disease resistant, tolerates heavier soils. A reliable workhorse. | Cold climates, beginner gardeners. |
| Jersey Supreme | Green | Early producer, high yields of uniform spears. Excellent establishment vigor. | Gardeners wanting earlier harvests. |
| Purple Passion | Purple | Beautiful purple spears, sweeter and more tender. Turns green when cooked. | Unique flavor and color, great for eating raw. |
| Mary Washington | Green | Classic heirloom variety. Produces both male and female plants (red berries). | Gardeners who want to save seeds, traditionalists. |
| UC 157 F1 | Green | Warm-climate specialist, developed in California. Performs well in mild winters. | Gardeners in zones 7-10. |
Your Asparagus Growing Questions Answered
Can I grow asparagus from seed, and is it worth it?
My asparagus spears are super thin, even in year three. What did I do wrong?
Can I grow asparagus in a container or raised bed?
What are the main pests and diseases I should watch for?
The harvest window seems short. How can I preserve my asparagus?
Reader Comments